


How To...
Below you will find basic information on how to use our products, although you are definitely not limited to using them in any certain way.
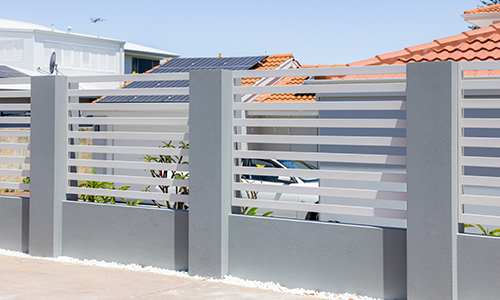
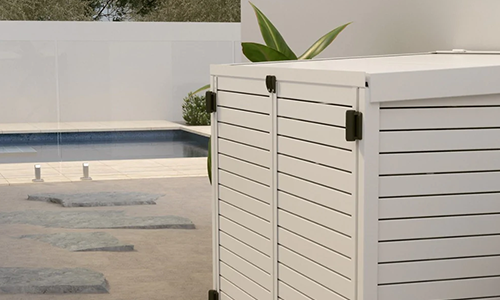
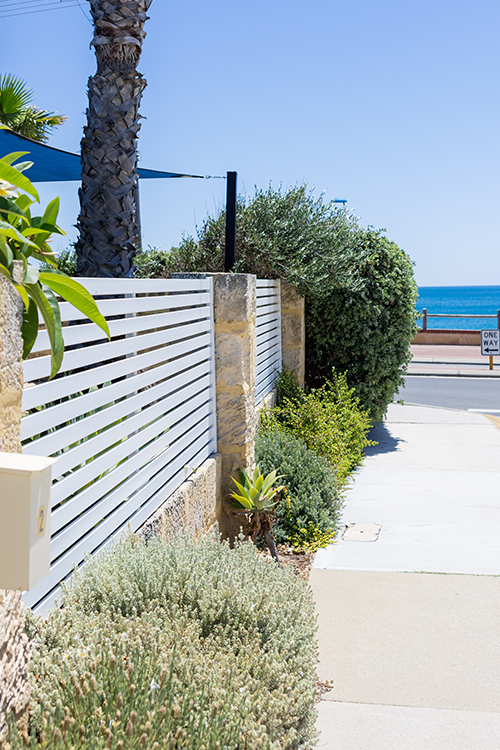
The sky’s the limit when it comes to slat fencing!
What you'll need.
- 4 x 100mm, or 6 x 65mm 6.5m lengths of Aluminium Slats
- 1 x 6.5m length of Fencing Channel
- 1 x 6.5m length of Slat Support
- 1 x 6.5m length of Fencing Channel Cover
- 2 x Aluminium Post End Caps
- 6 x Plastic Channel End Caps
- 70 x 10Gx16 Hex Head Screws
- 2 x 3.6m length of Fence Post (Only 1 if you use our base plate)
- 2 x Fence Post Base Plate
- 8 x 12Gx50 Countersunk Screws
- 1 x Bag of Concrete
- Cutting Saw
- Electric Drill
- Level
- Necessary
- Optional
- Tools Required


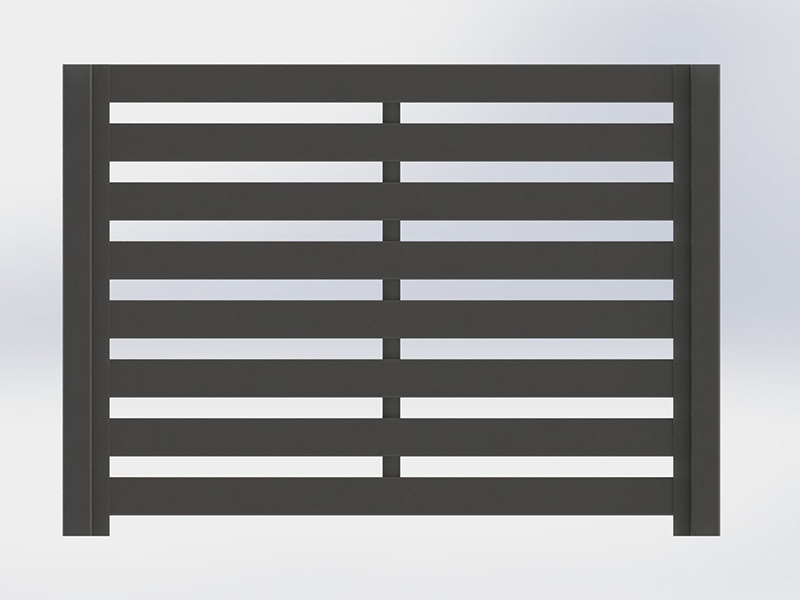
Step 1 - Cutting
- 12 x 100mm Slat 2m lengths, or 17 x 65mm Slat 2m lengths
- 2 x 1.44m Fencing Channel lengths
- 1 x 1.44m Slat Support length
- 3 x 1.44m Fencing Channel Cover lengths
If you’re using our Fence Posts:
- 2 x 1.44m lengths (Base Plate)
- 2 x 1.9m lengths (Concrete)
- 2 x 2.1m lengths (Dirt)
Step 2 - Install Fence Posts
Skip if you’re not using our Fence Posts.
Base Plate:
Install our base plate onto the end of the recently cut fence posts, using 4 x 12Gx50 Countersunk Screws. You can then mount the post to any solid surface.
Concrete:
Dig a hole that’s close to 450mm deep and set the 1.9m fence post inside. Making sure to use a level to keep the post straight. Pour the concrete in evenly and making sure to remove any air bubbles as you go. Let the concrete set before proceeding.
Dirt:
Dig a hole that’s close to 650mm deep and set the 2.1m fence post inside. Making sure to use a level to keep the post straight. Start surrounding the base of the post with dirt, packing it down evenly as you go.

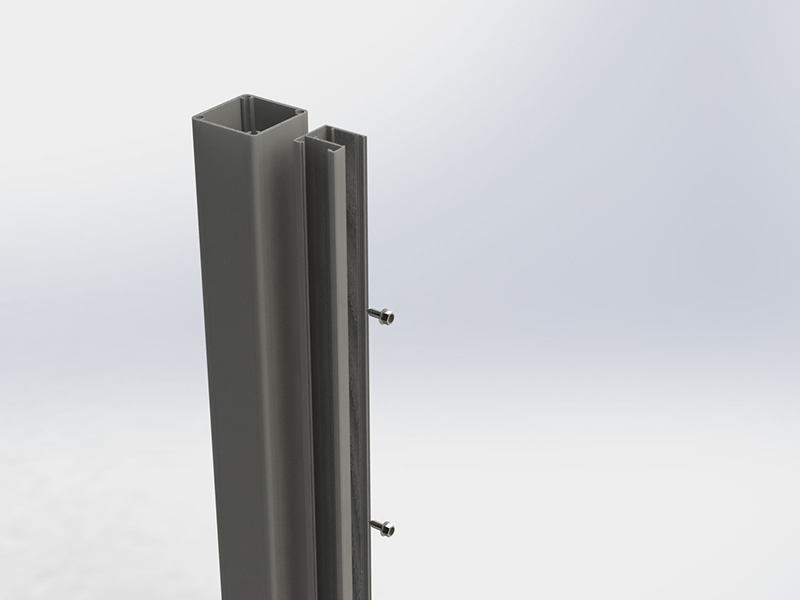
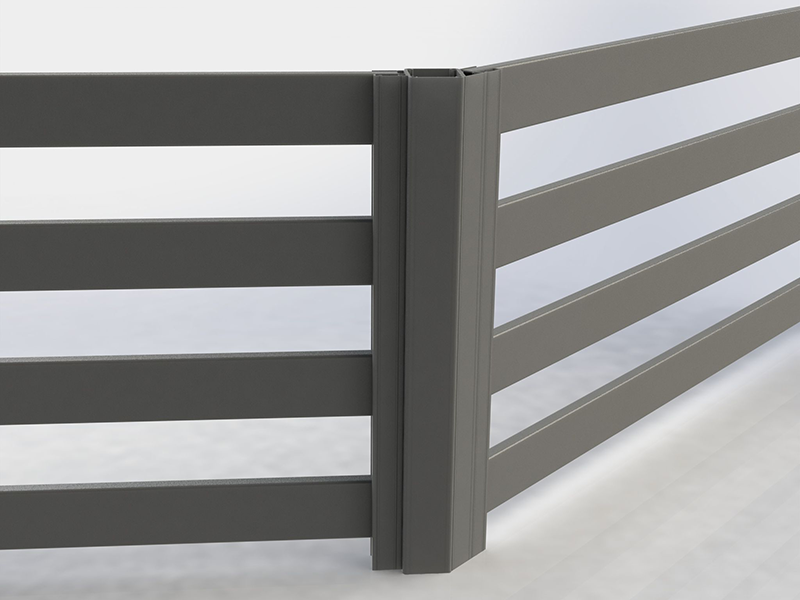
Step 3 - Mounting the Channels
To our Fence Posts:
Take the 1.44m long Fencing Channels and place them against the recently installed fence posts. Make sure the edge of the channel is 10mm off of the edge of the fence post. Place 5 x 10Gx16 Hex Head Screws through the back of the channel into the fence post, spaced roughly 300mm apart.
To an existing wall or column:
Take the 1.44m long Fencing Channels and place them against the existing wall or column. Put 5 mounting points through the back of the channel into the wall or column, spaced roughly 300mm apart.
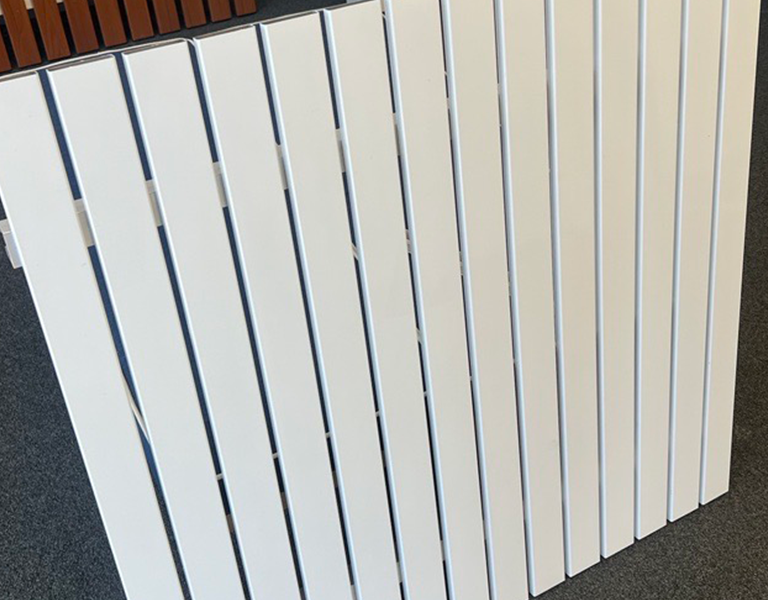
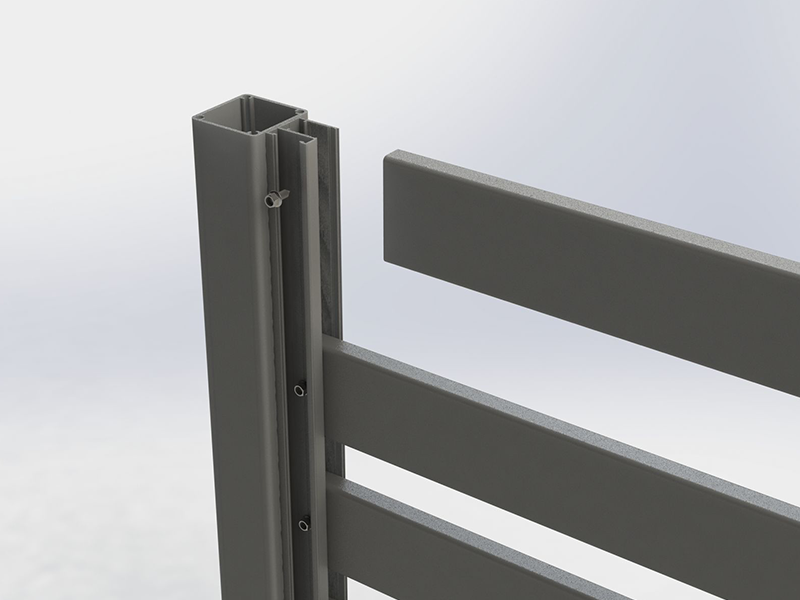
Step 4 - Installing the Slats
Take your 2m long aluminium slats and slide the first one to the bottom. Calculate the gap needed at the bottom so that the final slat lands flush with the top, in this case it is 20mm, and then use a level to make sure first slat is level. From there you can put 2 x 10Gx16 Hex Head Screws on each end of the slat, bolting it through the fencing channel. Congratulations, you’ve installed your first aluminium slat.
Now place those spacers on top of your newly installed slat and then put your second slat into place. Screw 2 x 10Gx16 Hex Head Screws into each end through the channel, and then repeat the process until you reach the top. Check the level every 3-4 slats as you install them.
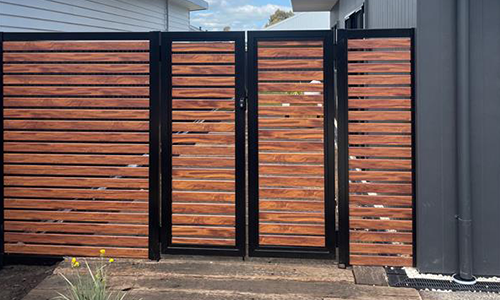
What you'll need.
- 3 x 65mm 6.5m lengths of Aluminium Slats
- 1 x 6.5m length of Gate Frame
- 1 x 6.5m length of Fencing Channel Cover
- 4 x Gate Frame Corner Stakes
- 40 x 10Gx16 Hex Head Screws
- 16 x 12Gx20 Countersunk Screws
- Cutting Saw
- Electric Drill
- Level
- Necessary
- Tools Required

Step 1 - Cutting
- 17 x 65mm Slat 895mm lengths
- 2 x Gate Frame 1000mm lengths (45° Miter)
- 2 x Gate Frame 1550mm lengths (45° Miter)
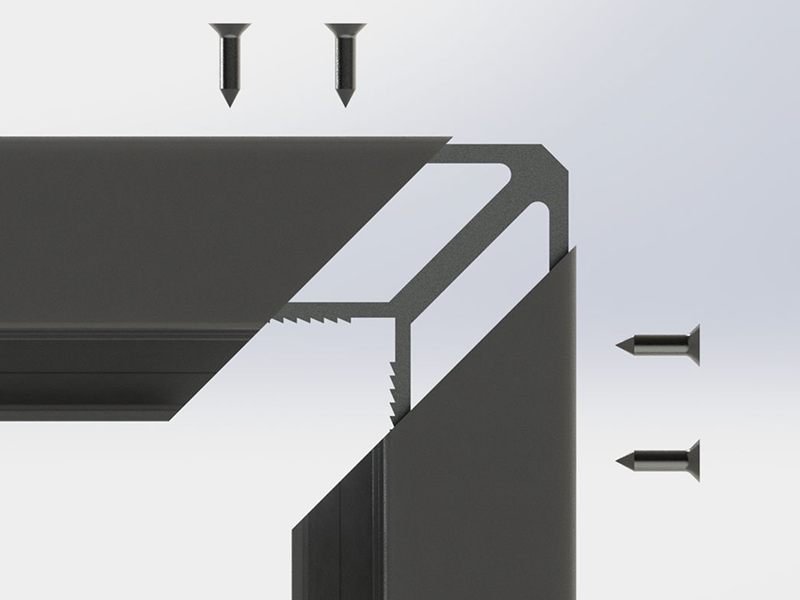
- 2 x Fencing Channel Cover 900mm lengths (45° Miter)
- 2 x Fencing Channel Cover 1450mm lengths (45° Miter)
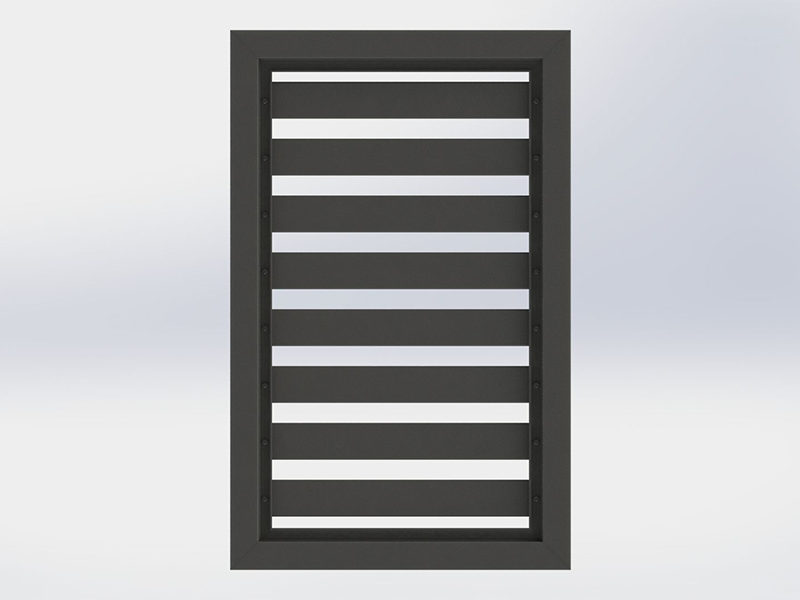
Step 2 - Corner Assembly
Slide the mitered gate frame over the top of the corner stakes, and drill 2 pilot holes roughly 50mm from either edge on each side. Counter sink the holes for a cleaner finish, before screwing in the 12Gx20 Countersunk Screws. Repeat this for both sides against either the top or bottom piece first for easier installation of slats.

Step 3 - Installing the Slats
Slide the slats in from the open end, spacing them 20mm apart before using 10Gx16 Hex Heads to screw them in place. Once all slats are installed, place the gate frame corner stakes into the open ends, and repeat Step 2 to finish off the gate panel.
Step 1 - Mounting the Channel
Mounting our 135deg channel can seem like a bit of a daunting task, especially if you’re not even sure which side goes against the post.
To mount the channel, we recommend drilling pilot holes to make it easier, by lining up the bit with the little snib on the inside of the channel and drilling in on an angle. Then get your 10G Self Tapping Hex Heads and screw in on the same angle.


Step 2 - Installing the Slats
To install slats on the 135deg channel is pretty much the same as the standard channel. Slide the first slat to the bottom and work your way up, screwing through the side of the channel into the slats.
When you’ve finished installing the slats, just pop on the channel cover and you’re finished.
