


The

System
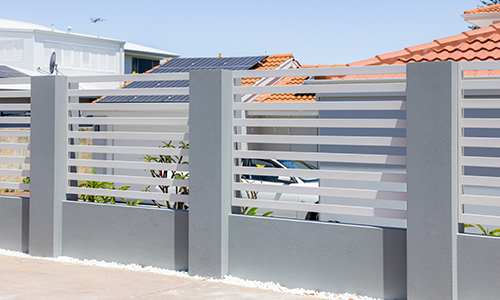
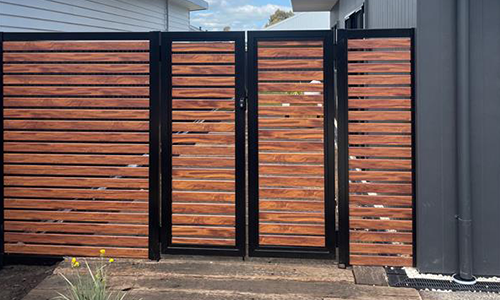
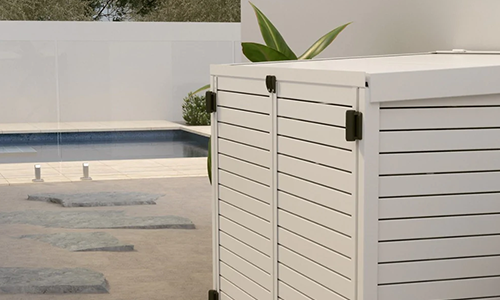
Simple DIY Slat Gate System
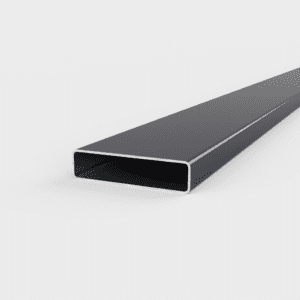
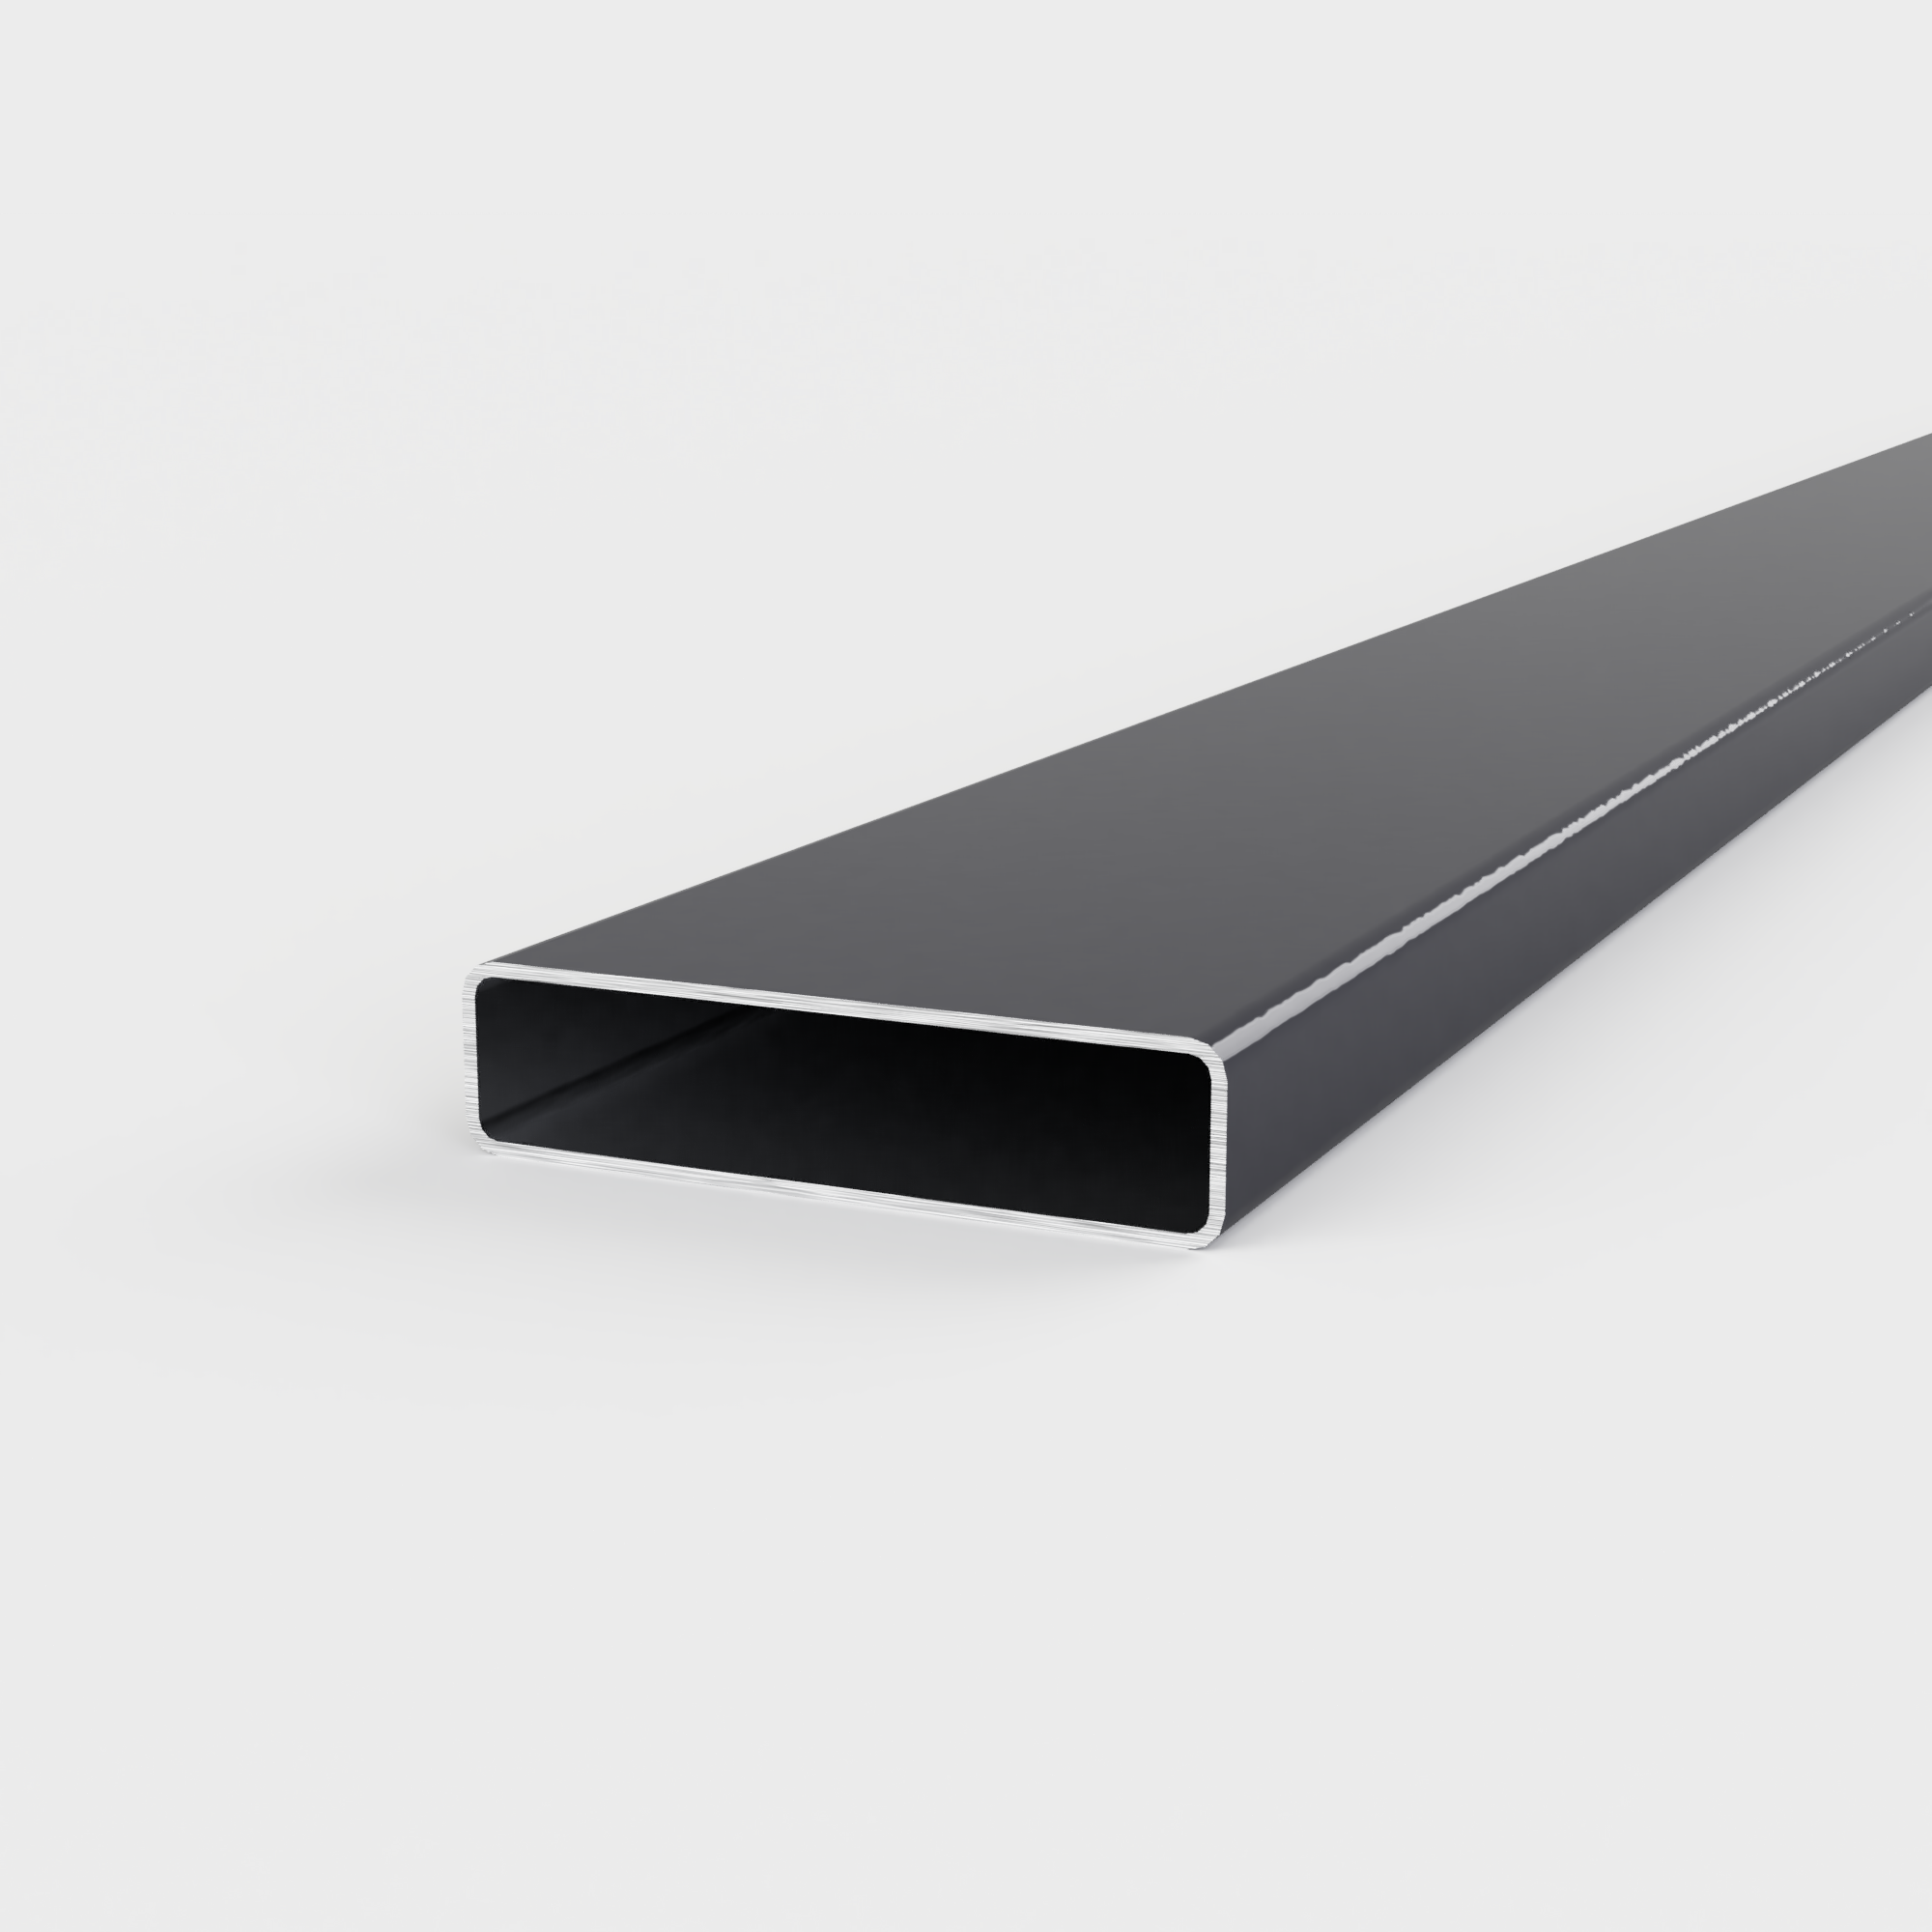
Extrusions
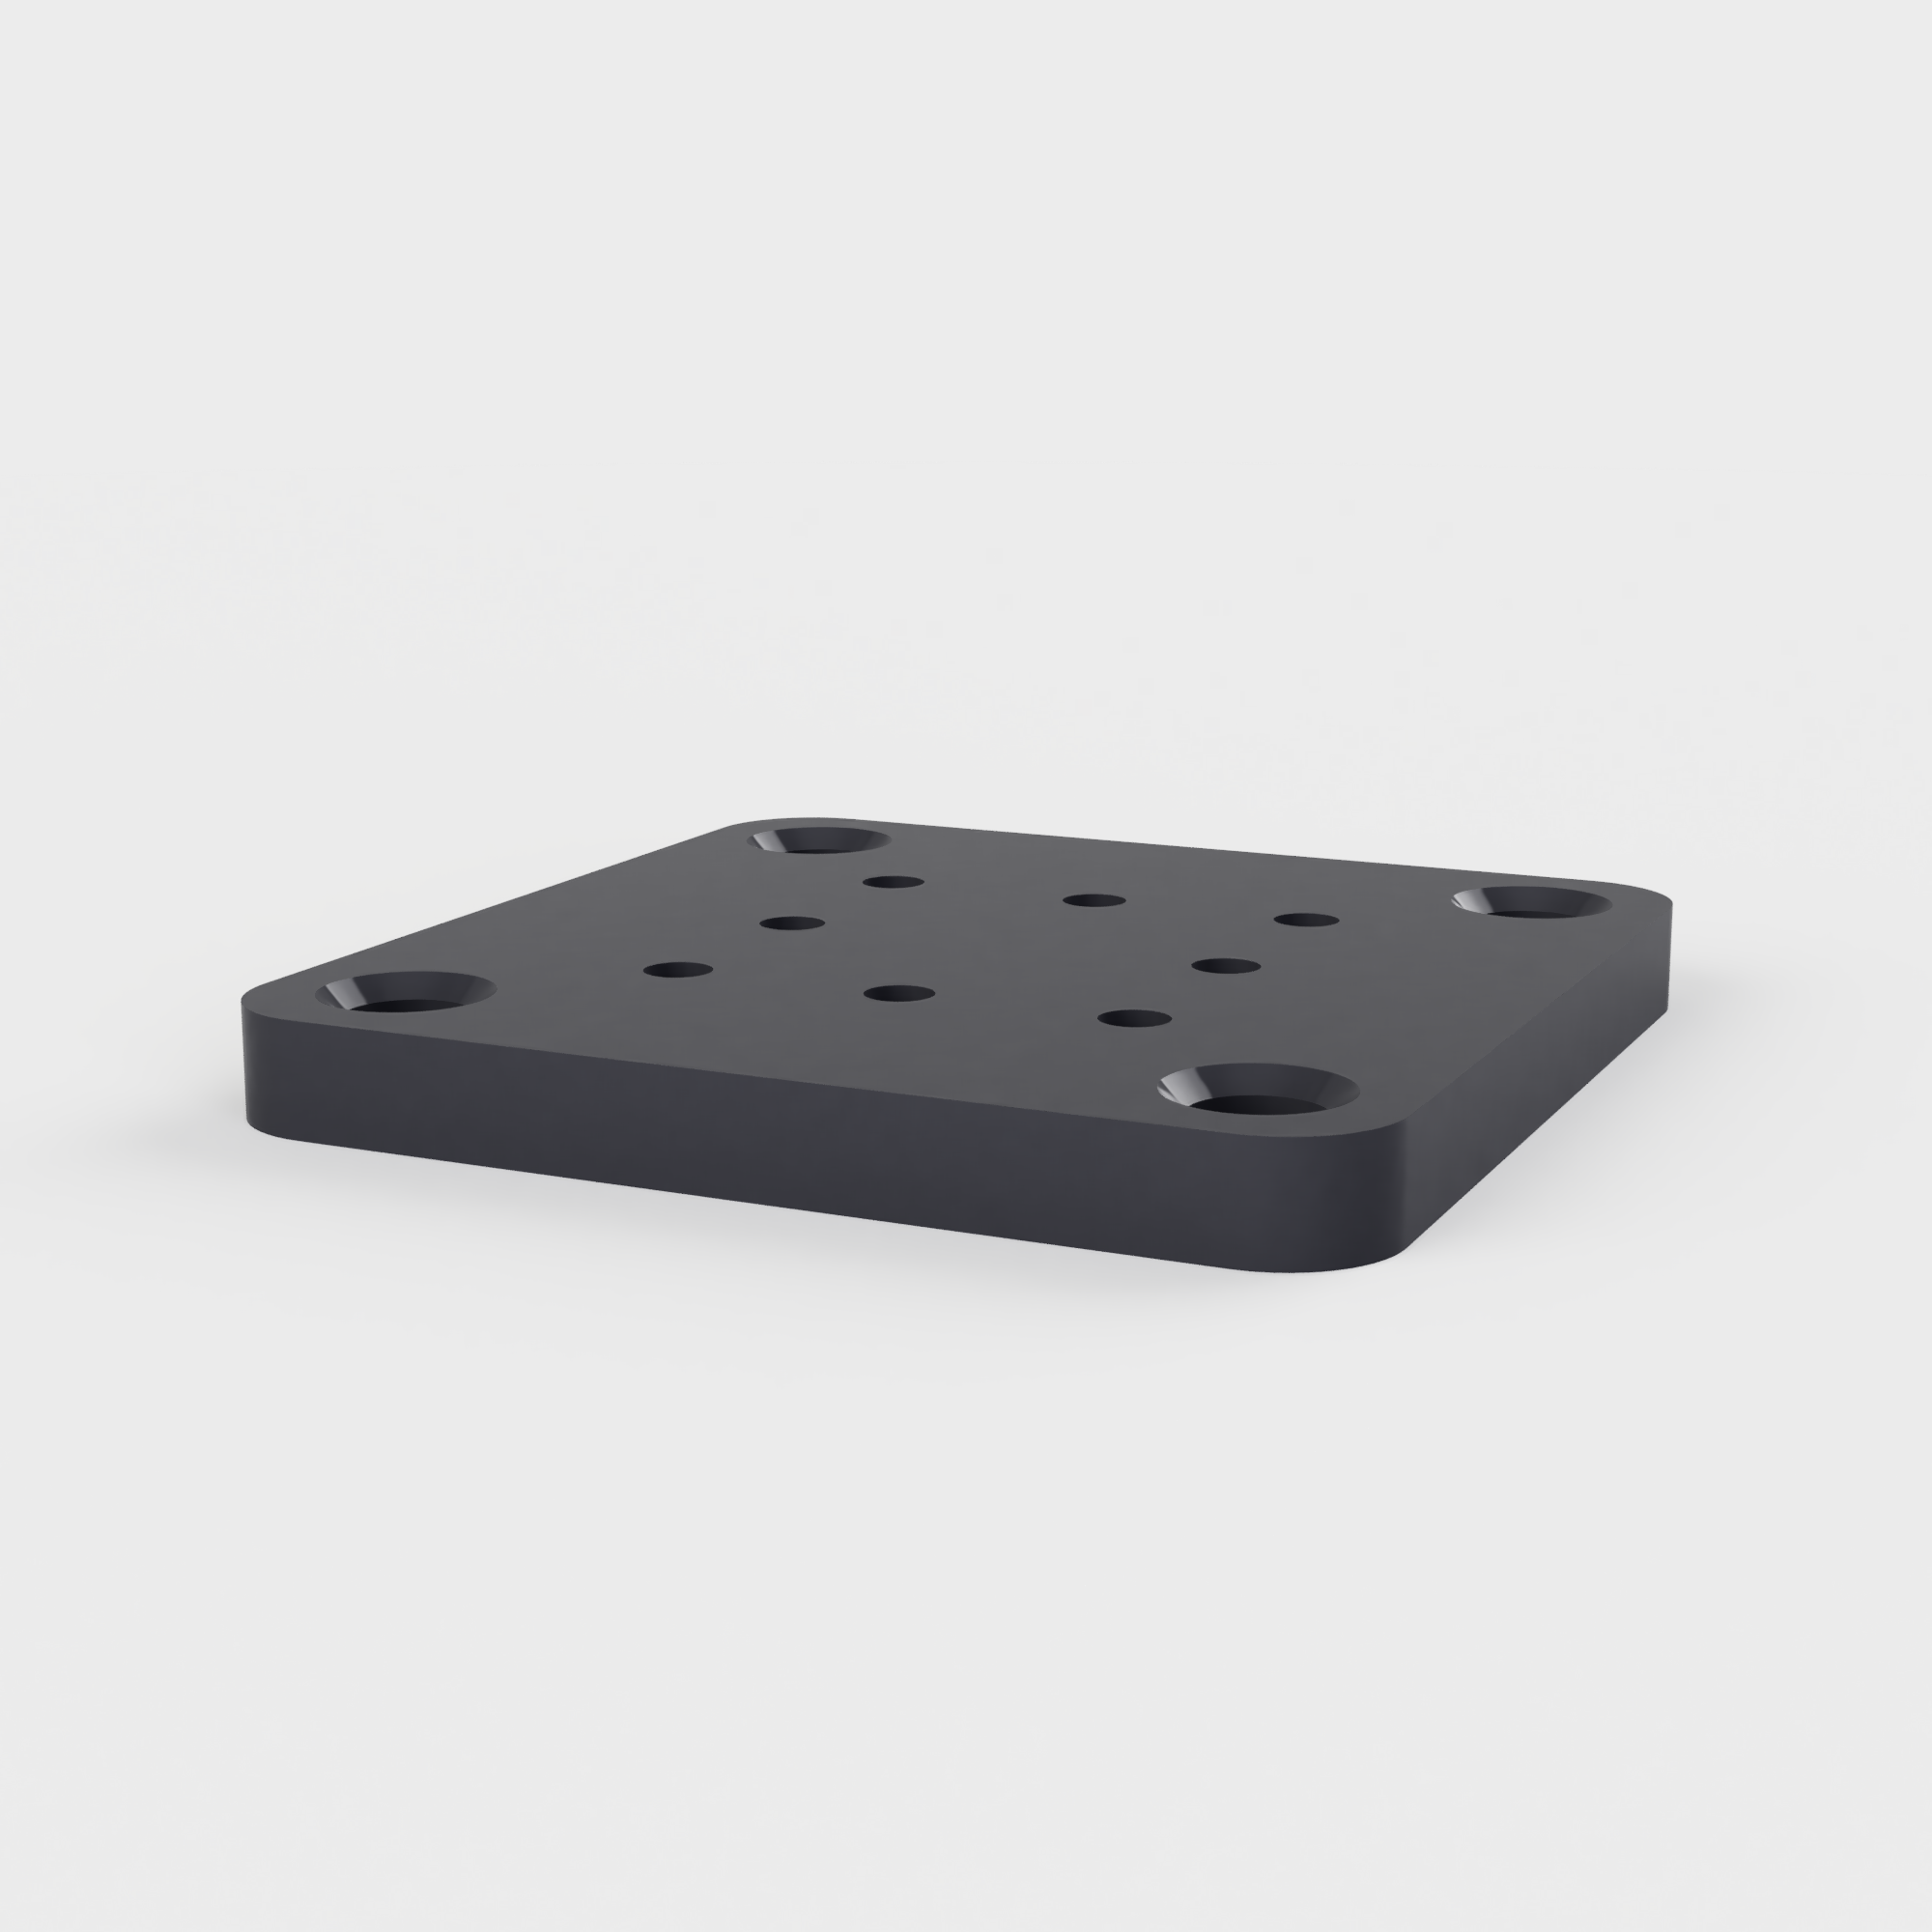
Components
Light Duty
Assembly Instructions
What you'll need.
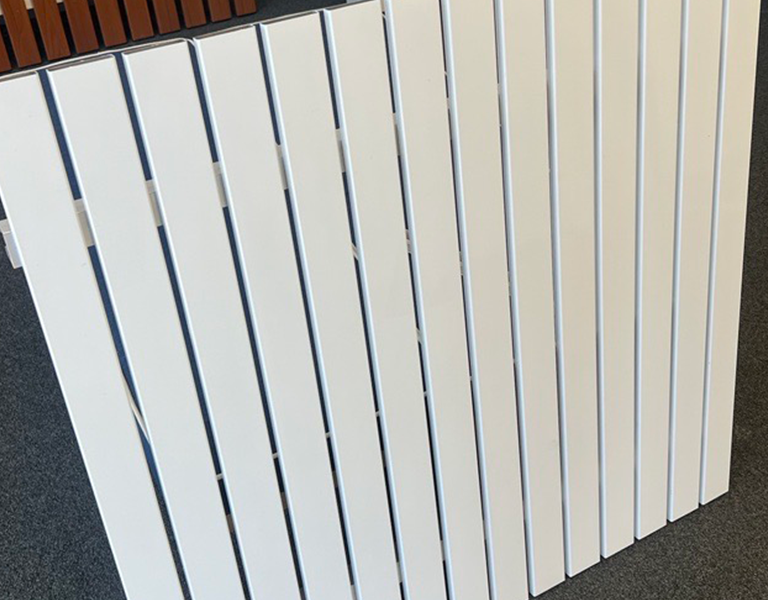
- 38mm, 65mm or 100mm Slats
- Gate Frame
- Channel Cover
- Self Tapping Hex Heads
- Square Post or 12G Post
- Post End Caps
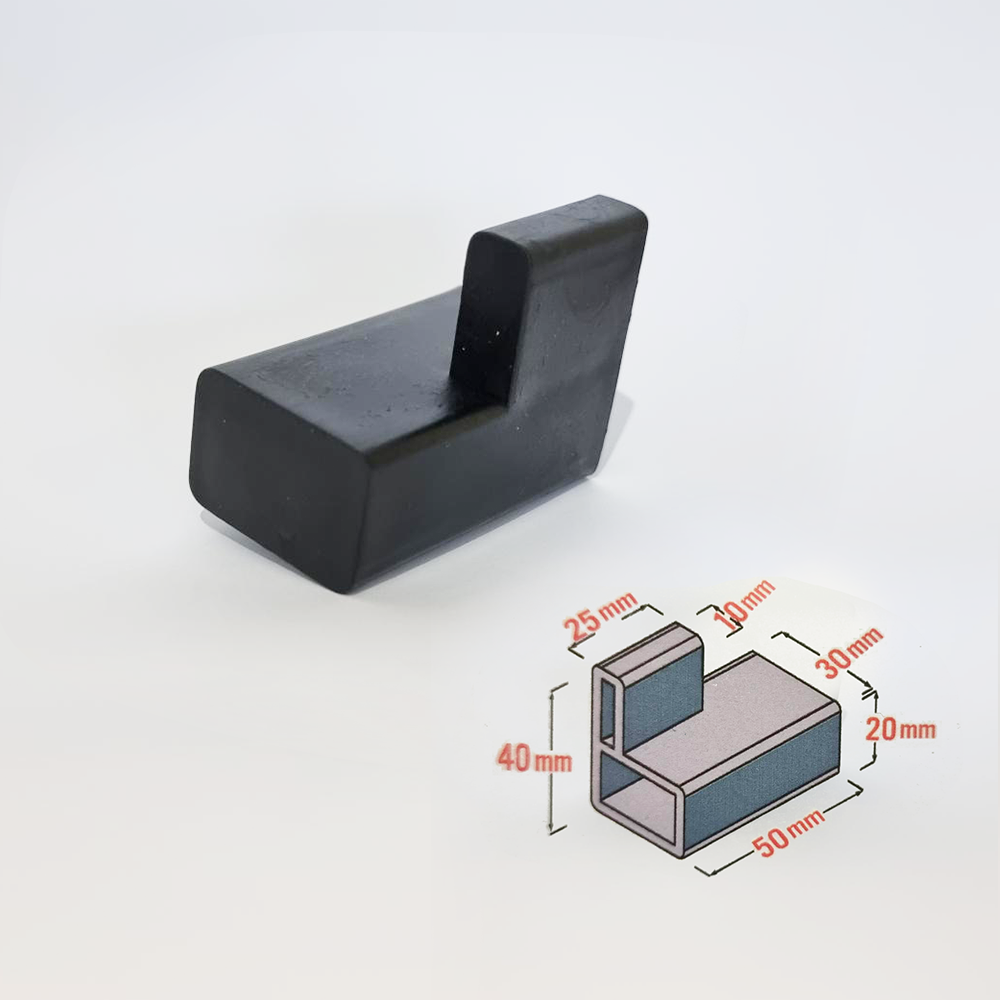
- Universal Spacer
- Cutting Saw
- Electric Drill
- Level
Step 1 - Cutting the Extrusions
Your first objective when creating a ProGate is cutting the frame to size. When creating a light duty gate, you will only be creating side frame, which means the gate frame needs to be cut straight. We also highly recommend clipping in the Channel Cover when cutting to make things easier when it comes to assembly.
You will also need to cut your Slats to size. An easy to way to get the correct size is to take your total gate width, and minus 104mm. For example, if your total gate width is 900mm, 900 – 104 = 796mm.

Step 2 - Assembling the Frame
Once all your extrusions have been cut, we can begin to assemble the frame. We recommend using a wall or creating a right-angle jig for an easier assembly.
Once you have decided on how you want to assemble, you can begin to slide the Slats into place. We recommend first loading all slats into one side, and then spacing them afterwards. Once all slats have been spaced, you can begin to screw them into place. Using 2 screws, per slat on each side is essential for our Light Duty gates to stop twisting.
Once one side has been screwed into place, put the remaining frame in place and make sure the slats are spaced evenly. Then you can repeat the step above to finish it off. Once completed, cap the top and bottom of the frame with a Plastic 50×50 Square Cap and Fence Channel Cap.

Step 3 - Mounting the Gate
In almost all cases you will need a post to mount your gate to, whether that post has been concreted, or mounted to an existing pillar or wall, is up to you.
Using a pair of hinges from our range is highly recommended are they are tested and known to work well with our gates. For a ProGate Light Duty we recommend the TruClose Medium Duty Hinges.
If installing as a pool gate, the MagnaLatch is highly recommended, otherwise our LokkLatch Deluxe should be your go-to.

Medium/Heavy Duty
Assembly Instructions
What you'll need.
- 38mm, 65mm or 100mm Slats
- Gate Frame
- Channel Cover
- Corner Stakes
- Self Tapping Hex Heads
- Square Post or 12G Post
- Post End Caps
- Universal Spacer
- Cutting Saw
- Electric Drill
- Level
Step 1 - Cutting the Extrusions
Your first objective when creating a ProGate is cutting the frame to size. When creating a medium/heavy duty gate, you will be creating a full frame, which means the corners must be mitred. These mitres are at a 45° angle, we also highly recommend clipping in the Channel Cover when cutting to make things easier when it comes to assembly.
You will also need to cut your Slats to size. An easy to way to get the correct size is to take your total gate width, and minus 104mm. For example, if your total gate width is 900mm, 900 – 104 = 796mm.

Step 2 - Assembling the Frame
Once all your extrusions have been cut, we can begin to assemble the frame. We recommend creating a U-Shape out of the frame for an easier assembly.
Once the U-Shape has been created, you can begin to slide the Slats into place. We recommend first loading all slats into the frame, and then spacing them afterwards. Once all slats have been spaced, you can begin to screw them into place. We highly recommend using 2 screws, per slat on each side for extra strength and rigidity. Especially for Heavy Duty gates.
Once your slats have been installed, you can finish off the frame by mounting the top section in place. Once all corners have been positioned correctly, you can either put 4 rivets or screws in each corner to hold everything in place.

Step 3 - Mounting the Gate
In almost all cases you will need a post to mount your gate to, whether that post has been concreted, or mounted to an existing pillar or wall, is up to you.
Using a pair of hinges from our range is highly recommended are they are tested and known to work well with our gates. For a ProGate Medium Duty we recommend the TruClose Heavy Duty Hinges, and for a ProGate Heavy Duty we recommend the SureClose Hinges.
If installing as a pool gate, the MagnaLatch is highly recommended, otherwise our LokkLatch Deluxe should be your go-to.