


The

System
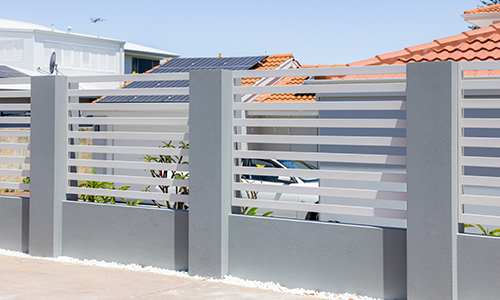
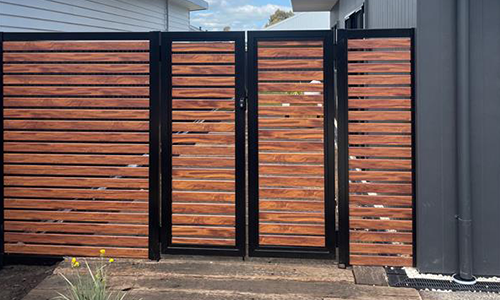
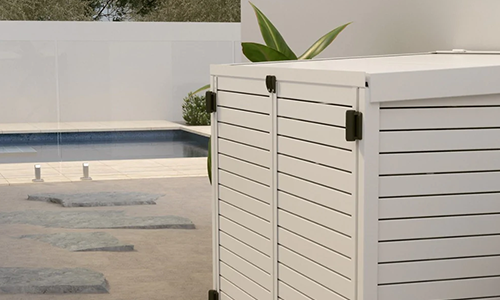
Vertical Blade / Batten Fencing System
Components
Assembly Instructions
What you'll need.
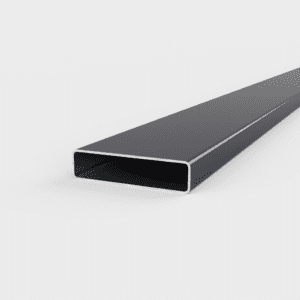
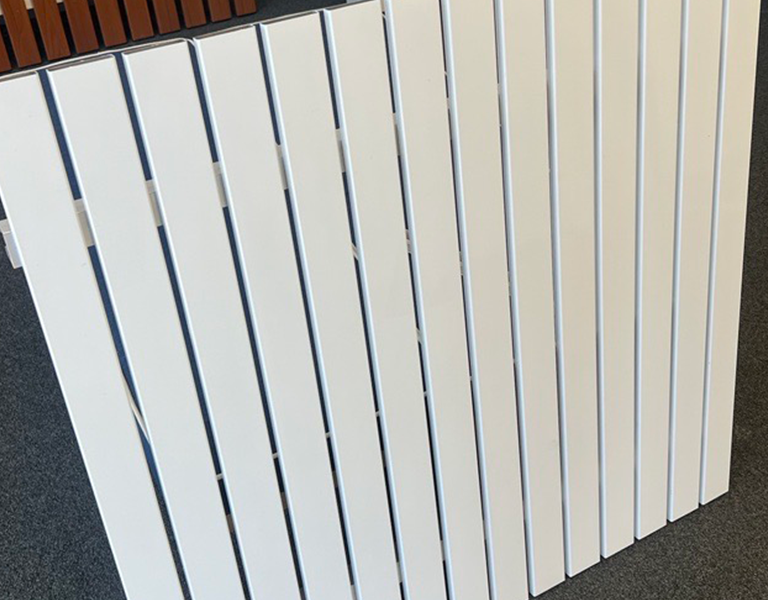
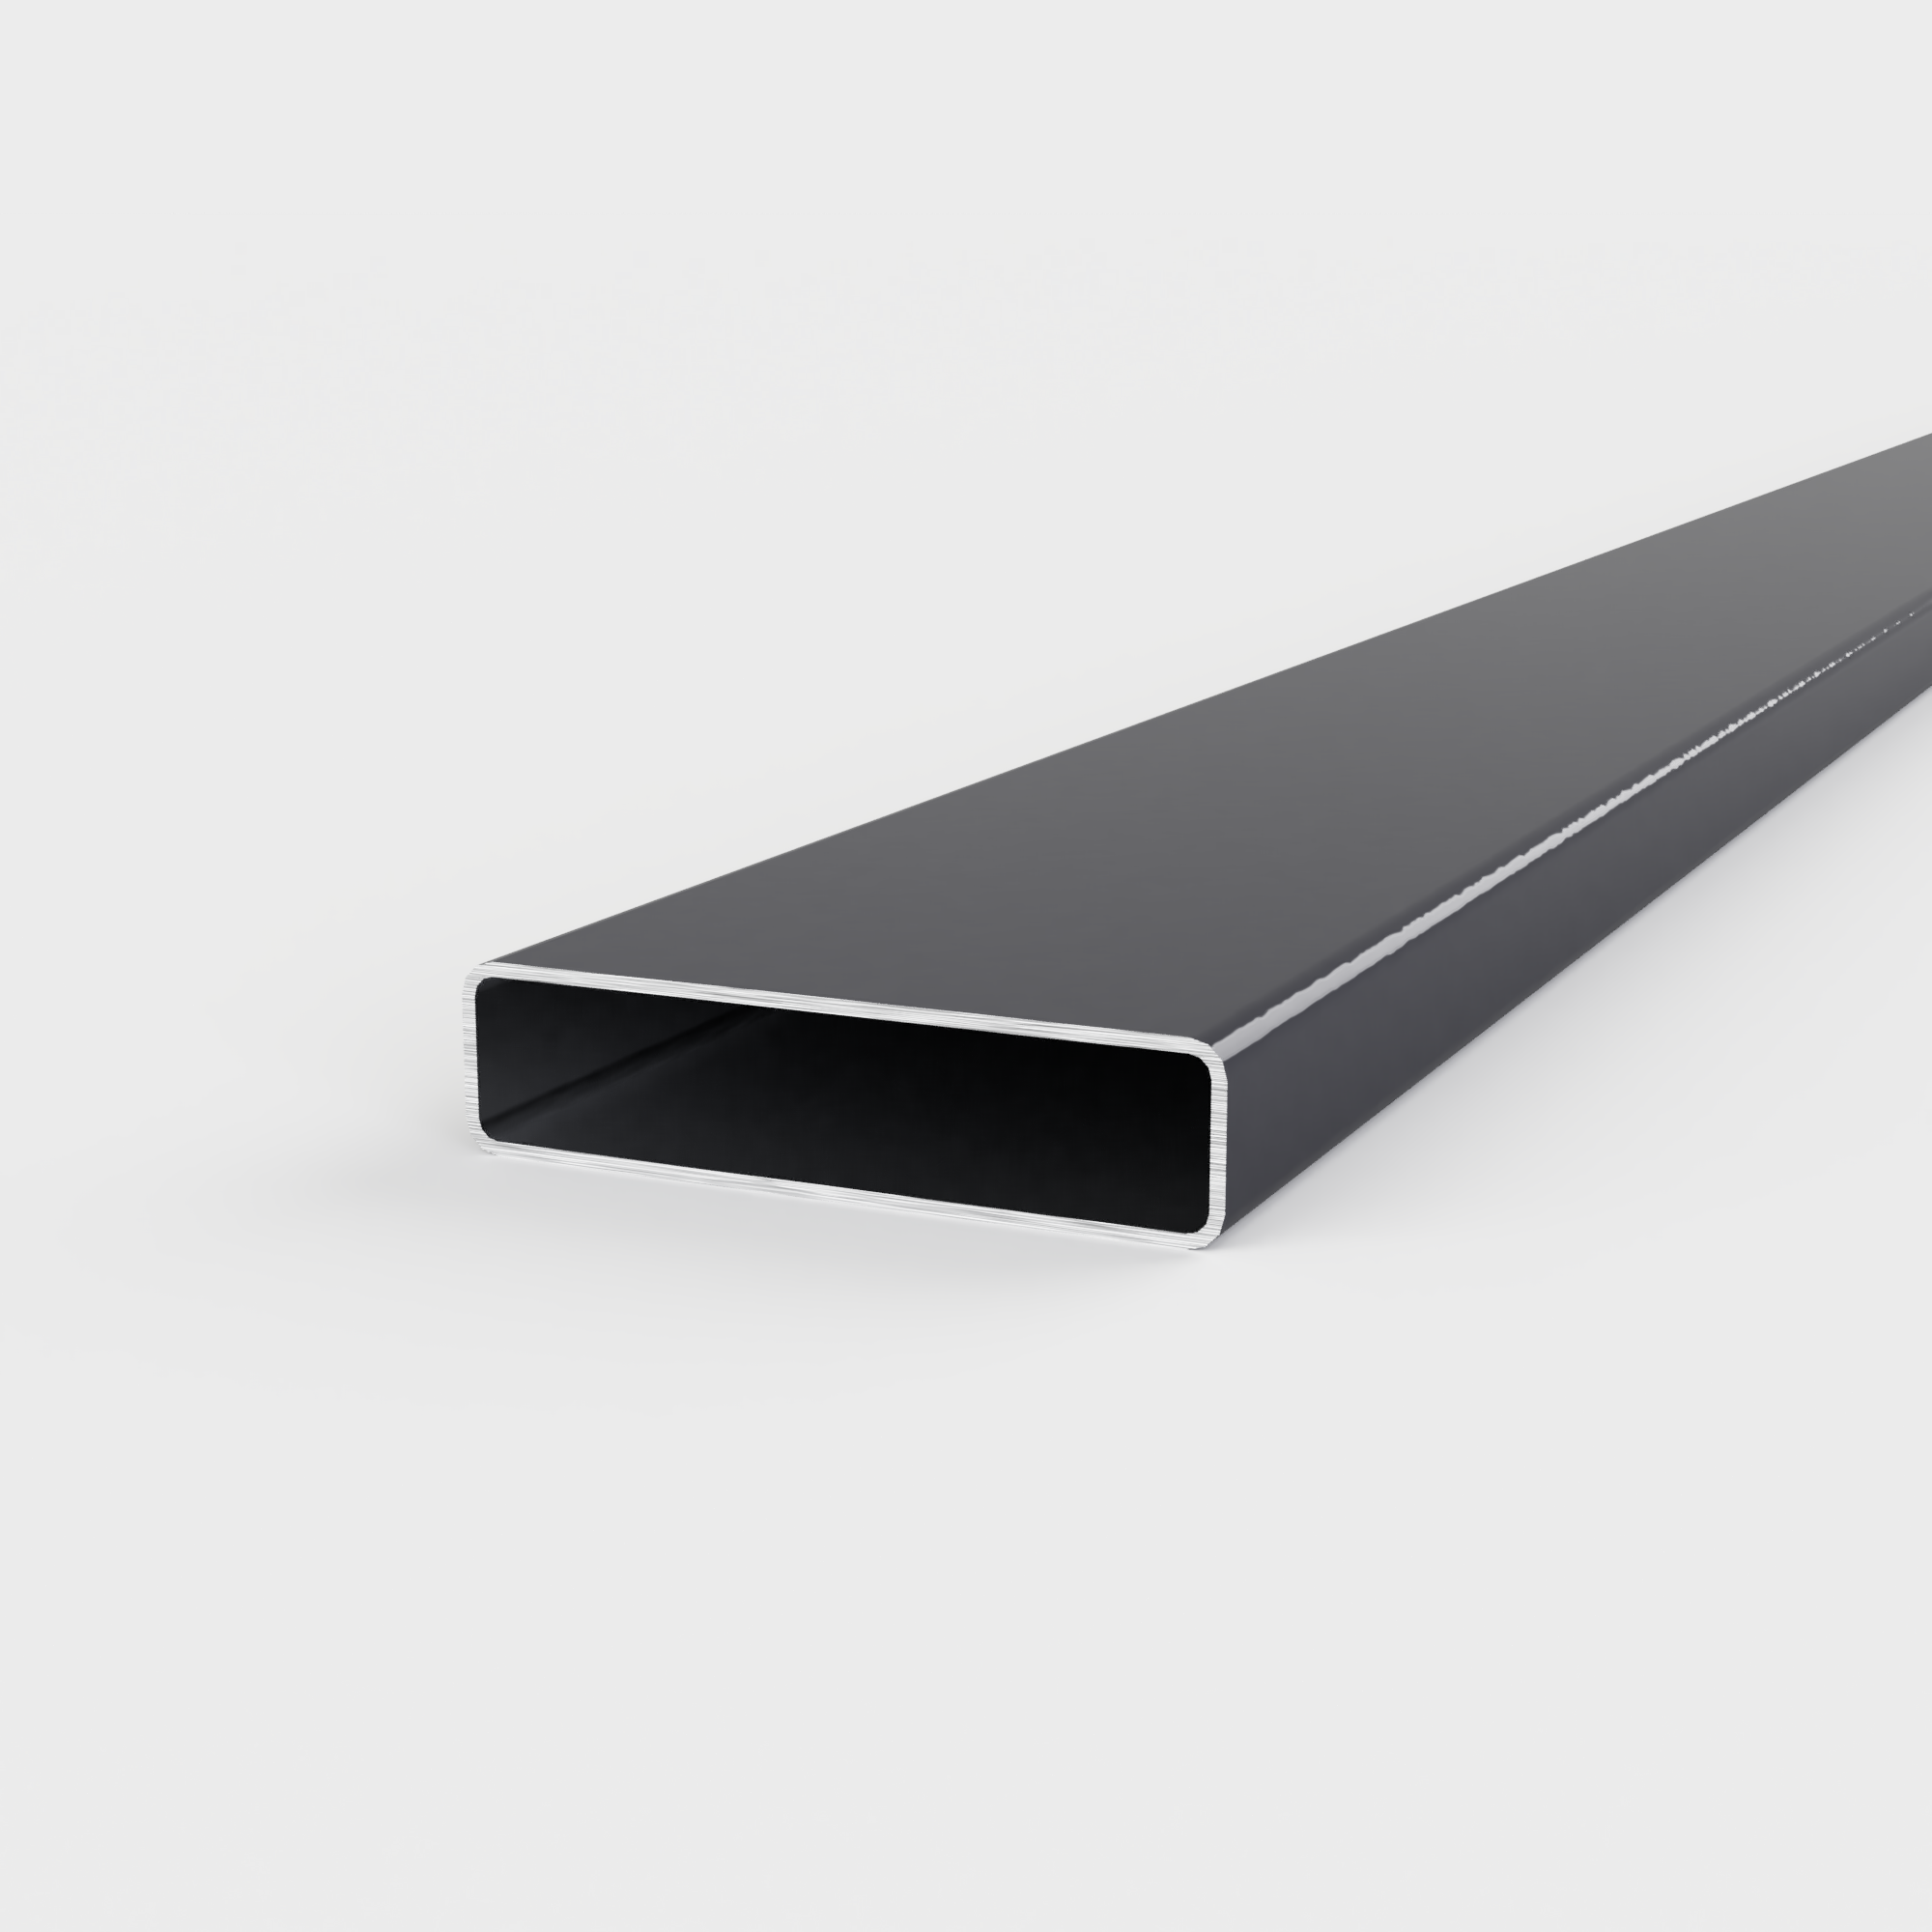
- 38mm or 65mm Slats
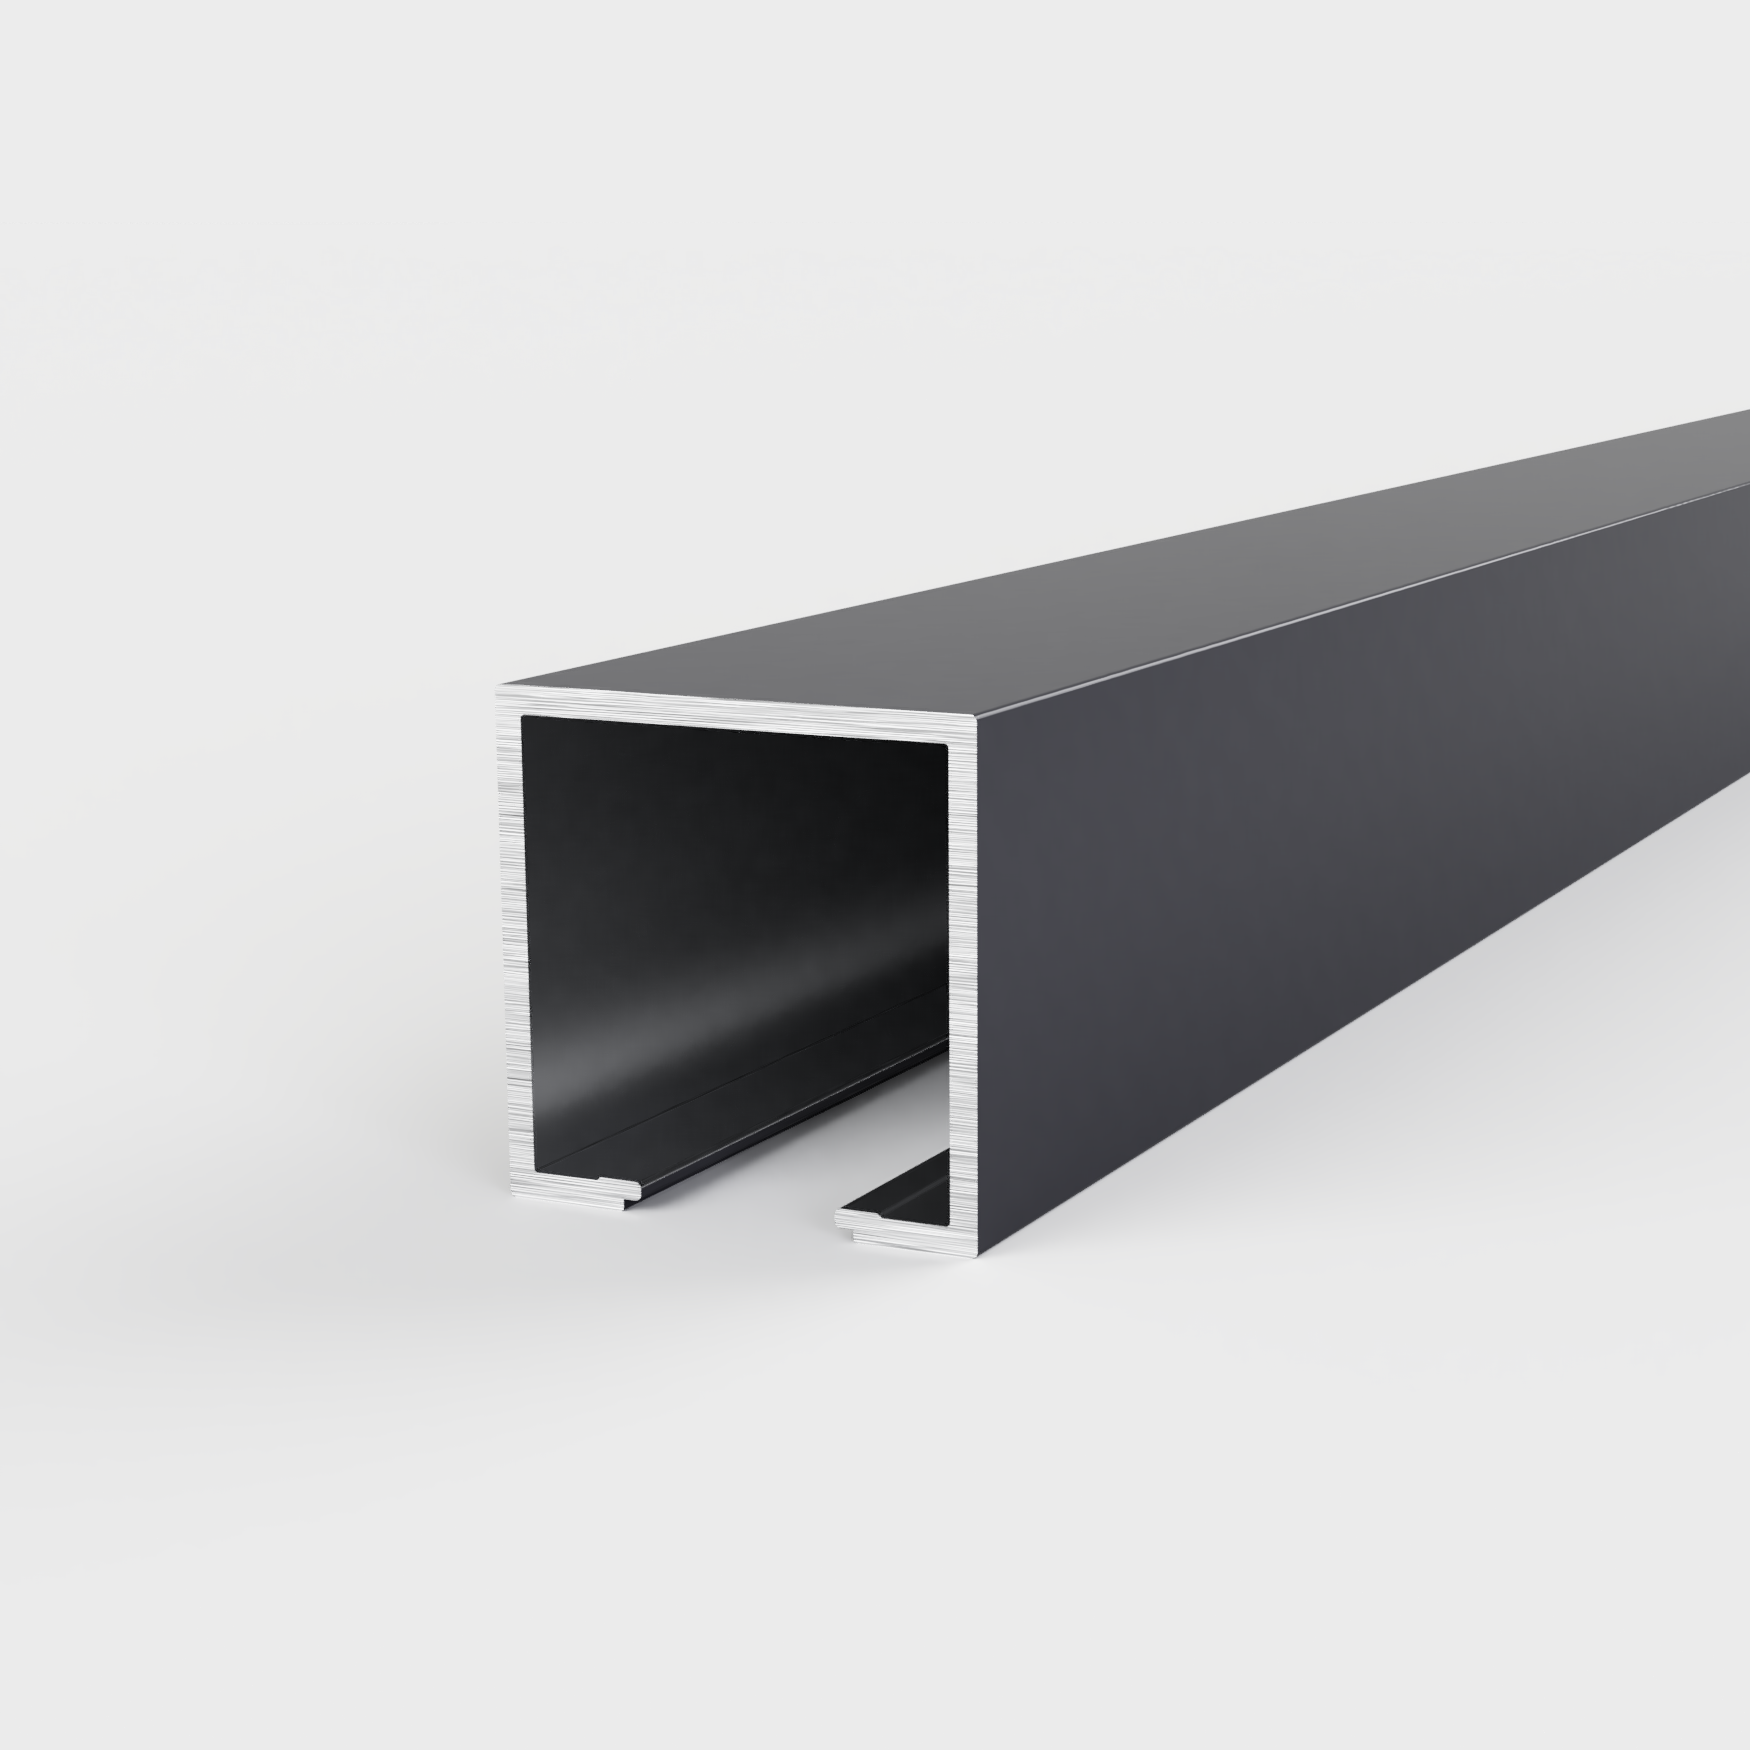
- Open Rail
- Open Rail Cover
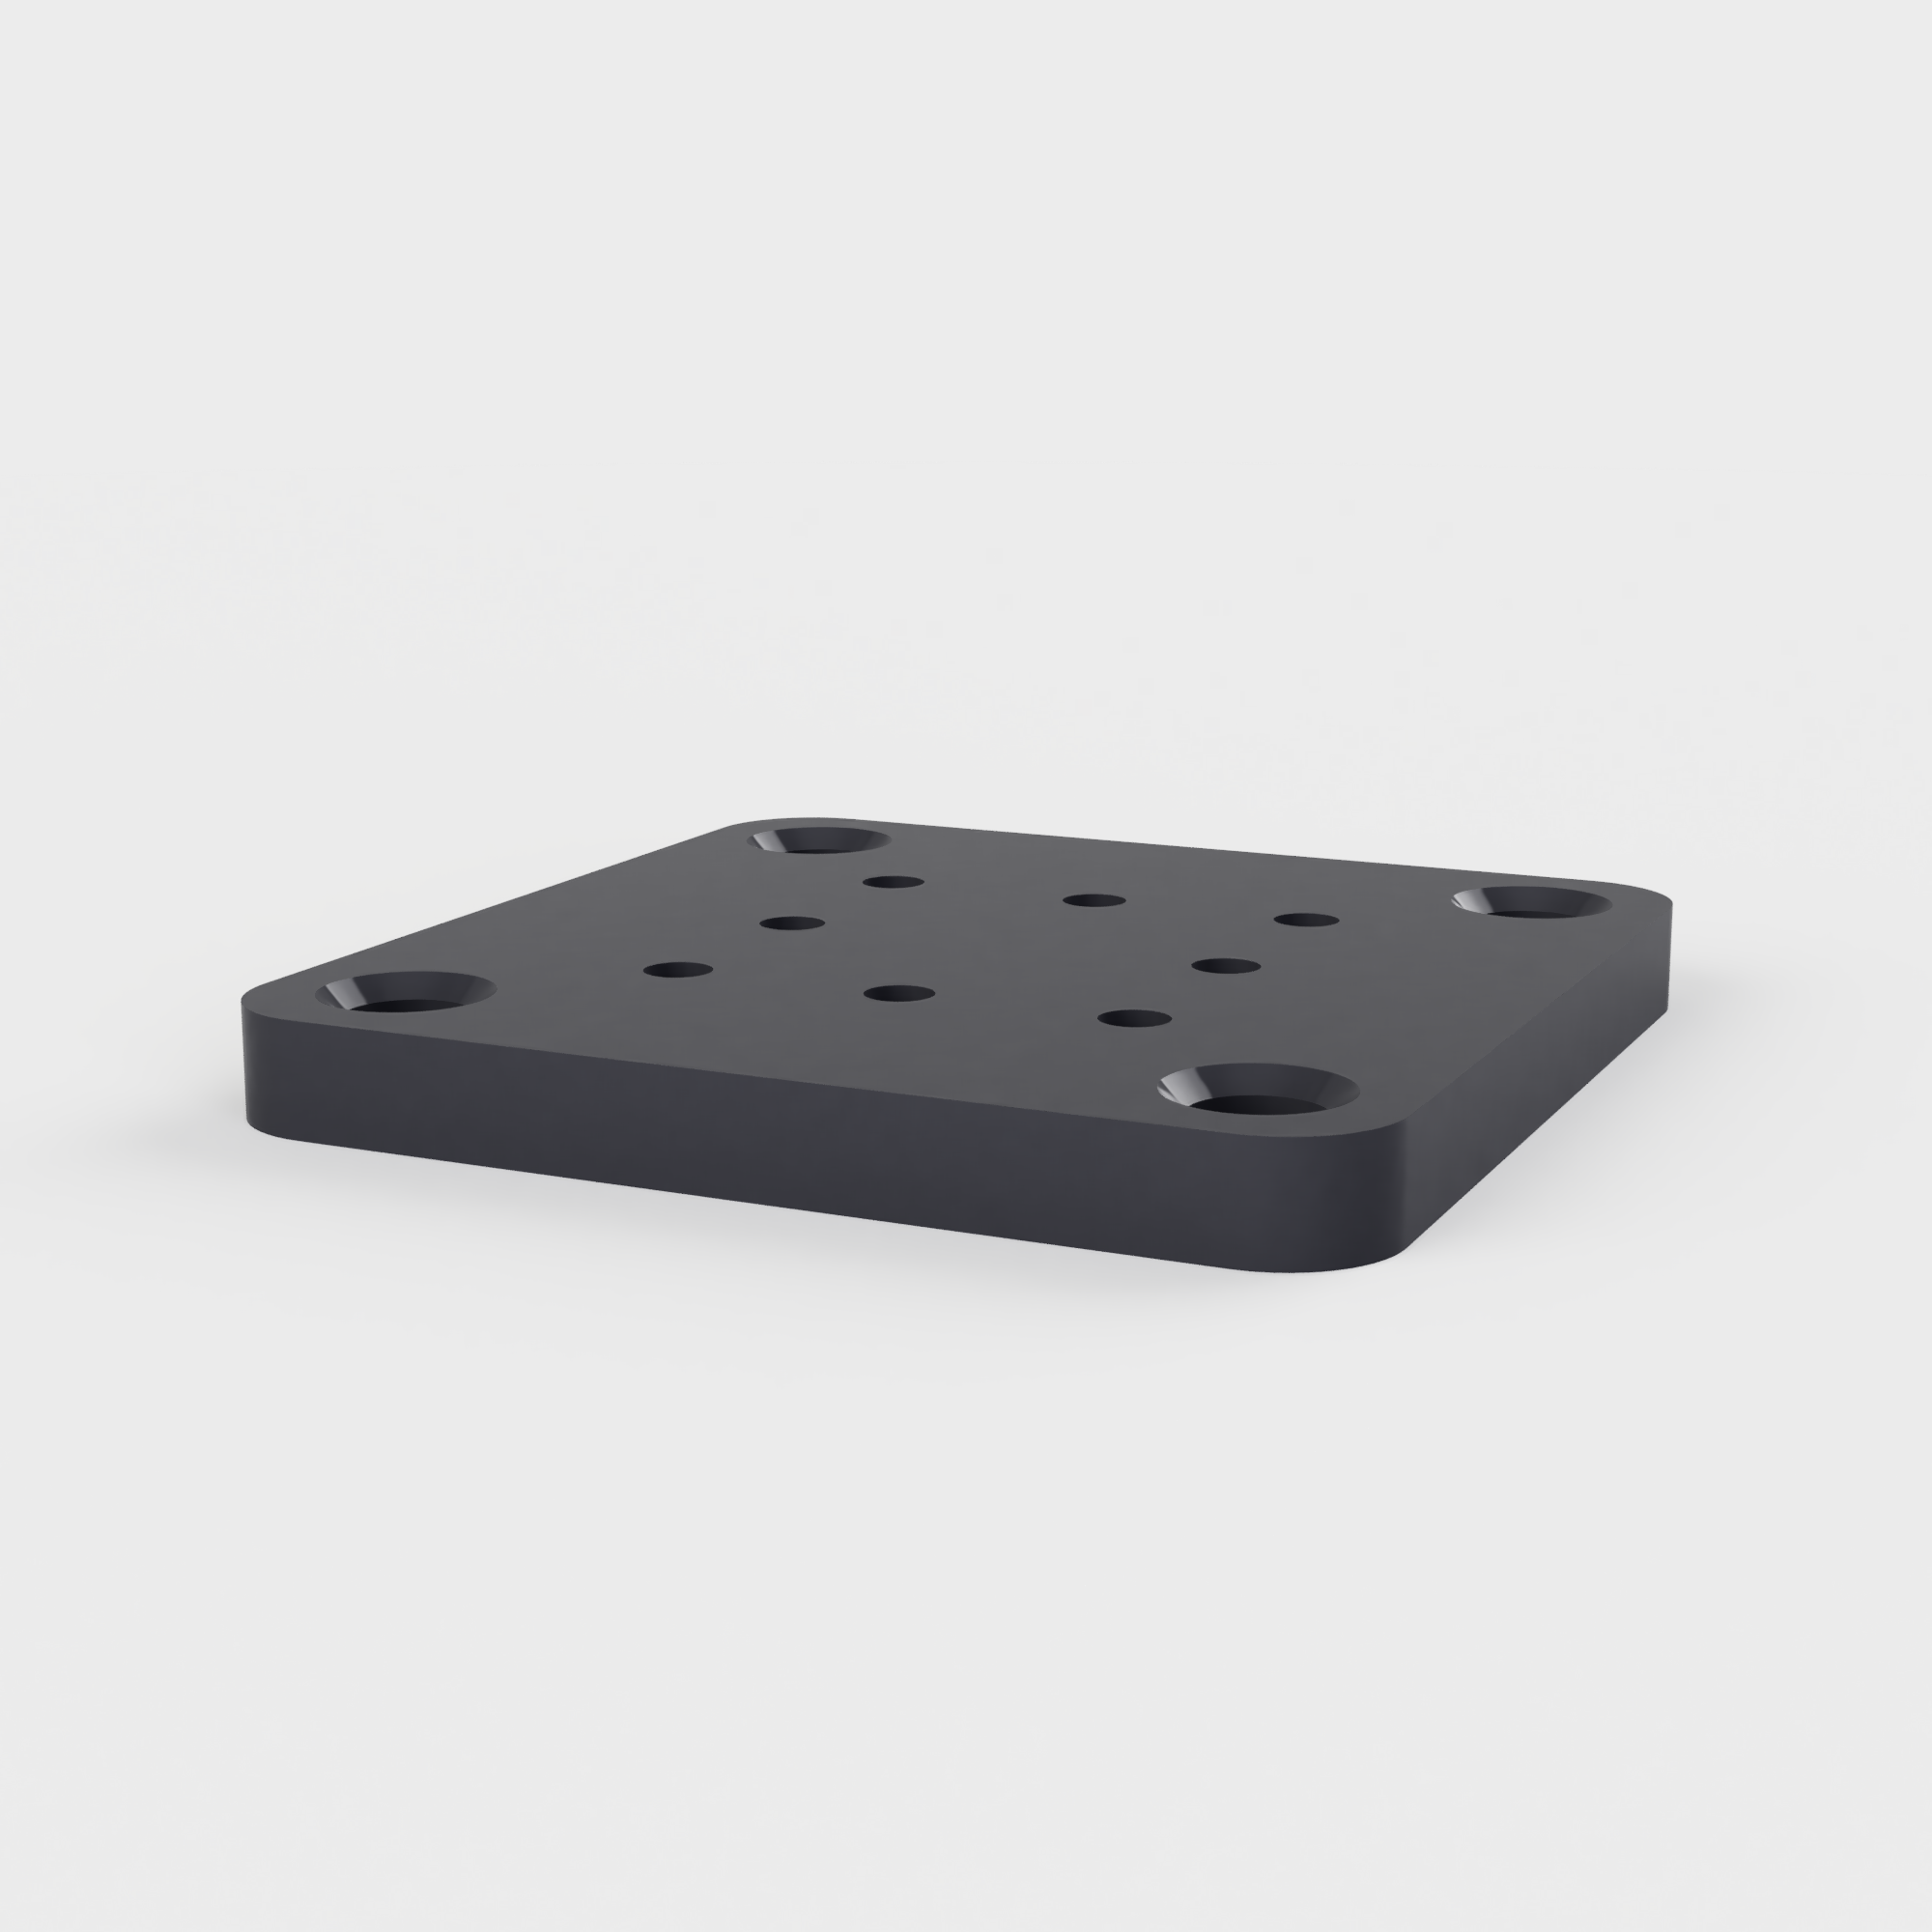
- Rail Mounts
- Self Tapping Hex Heads
- Square Post or 12G Post
- Post End Caps
- Universal Spacer
- Cutting Saw
- Electric Drill
- Level
Step 1 - Mounting the Rails
Your first objective when installing the VertiBlade system should be figuring out how you will mount the Open Rails, whether you are using posts, brick piers or a standard wall, an Open Rail will be needed. The Rail Brackets can be installed using Standard Green Plugs when installing into Brick, or our Self-Tapping Hex Heads can be used when installing into our Posts.
When cutting your Open Rail, we recommend clipping in the Open Rail Cover and cutting them at the same time.

Step 2 - Installing the Slats
Assuming your have already cut your slats to the desired length, and installed your chosen end caps for the slats, you can begin installing. Using a level and clamp, position your first slat in place and then screw through the back of the Open Rail into the slat using our Self-Tapping Hex Heads.
Once you have installed your first slat, using our Universal Spacer you can position and clamp the second slat in place. Repeat this process until you have installed all your slats.

Step 3 - The Finishing Touches
Once all your Slats have been installed, it’s time for the finishing touches. This is as simple as clipping in the Open Rail Cover to each rail, you may need to trim it a little bit to fit it between the brackets. If you used our Posts, you might also need to add on our Post End Caps to finish the look. Congratulations, you’ve just installed your first fence panel!

Additional Information
135deg Fence Channel
If you have an angled post or an angled pillar, the standard angle you will see in construction will be a 135° or 45° angle. This specially designed fencing channel will allow you to easily install a fence panel on an angle.
